Last updated 11/3/2023 1:20:09
Jump to Bottom
How to build:
|
| Website | Author | Description |
| http://www.skychariot.com | Skychariot Home / Keith's Balloons | |
| http://www.skychariot.com/Homebuilt.html | Keith Sproul | How to make a Hot Air Balloon |
| http://www.skychariot.com/tetconst.html | Keith Sproul | How to make a Tetrahedron Hot Air Balloon |
| http://www.skychariot.com/vent.html | Keith Sproul | How to make Turning Vents |
| http://www.xlta.org/plans/index.html | Dan Nachbar & Paul Stumpf | XLTA Open Plans |
| http://www.apexballoons.com/balloons/ | Jon Radowski | Discussion on Balloon Design |
| http://swww.apexballoons.com/tips/ | Jon Radowski | Tips on making a balloon |
!!!! DISCLAIMER !!!!
Materials and ideas listed here are in part unproven and may be hazardous to use in the construction and operation of experimental hot air balloons. Building and flying experimental aircraft involves significant risk and may lead to serious injury or death. Always obtain professional advice when building or flying human-carrying aircraft!Directions
The following directions have been used successfully. They were originally done by Miki Killingsworth from when she worked at Thunder & Colt, USA.Use at your own risk. There is no guarantee that these directions will work for you.
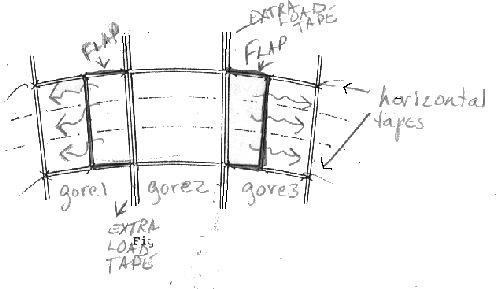
The drawings here show the turning vents with one full gore between them. This is the recommended and normal way of doing this. However, there is nothing wrong with putting them further apart. The easy way to do this is to sew a set of three full gores together. Install the turning vents on them as shown, then add that set of 3 gores into the rest of the balloon. If you want them further apart. Sew 2 sets of 2 gores together, make one turning vent in each of these pairs, then sew them into the balloon as appropriate.
|
Picture #1
Picture #2
Picture #3
Picture #4
Picture #5
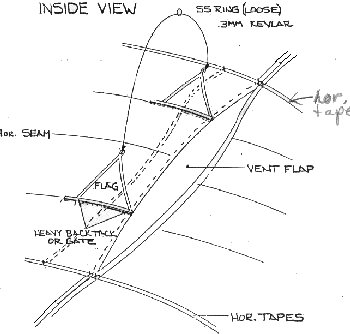
Drawing by Jon Radowski
Red are the tapes that are on the outside
Blue is on the inside
Yellow is on the outside of everything (on the end of the flap)
Note: This picture shows 3 flags per vent. It works better if you just use two. If you are making a 105 or bigger and the vent spans 3 horizontal panels, these flags go on the horizontal seams. If the vent only spans two panels, put them between 1/4 and 1/3 the way from the ends of the flap. Attach a piece of 550 Parachute cord to both flags, with a 2" metal ring on the cord. The ring should be free to slide up and down the parachute cord. Fasten the vent line to the ring. This will make it so you have even tension on both flags The vent line then goes to a pulley about 1/3 around the balloon. Do not go straight across so that the vent line is not in the way of the flame.
Picture #6
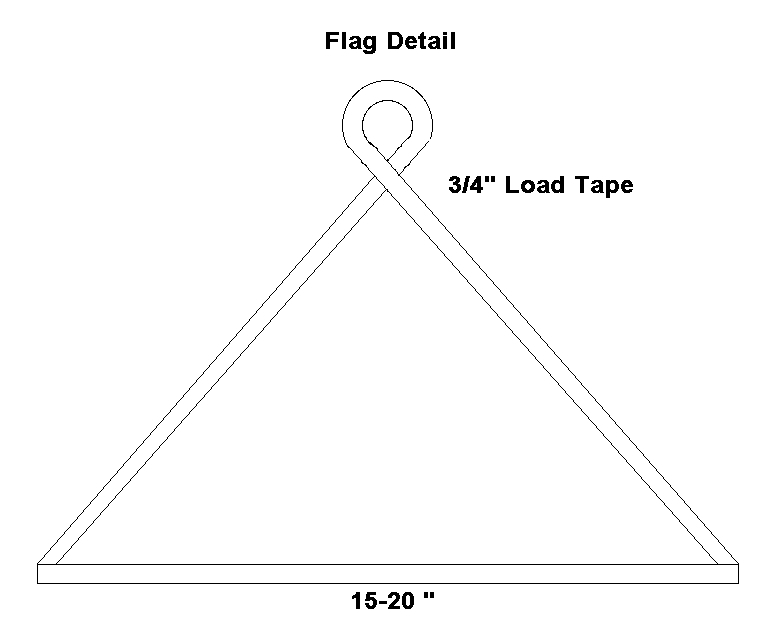
Picture #7
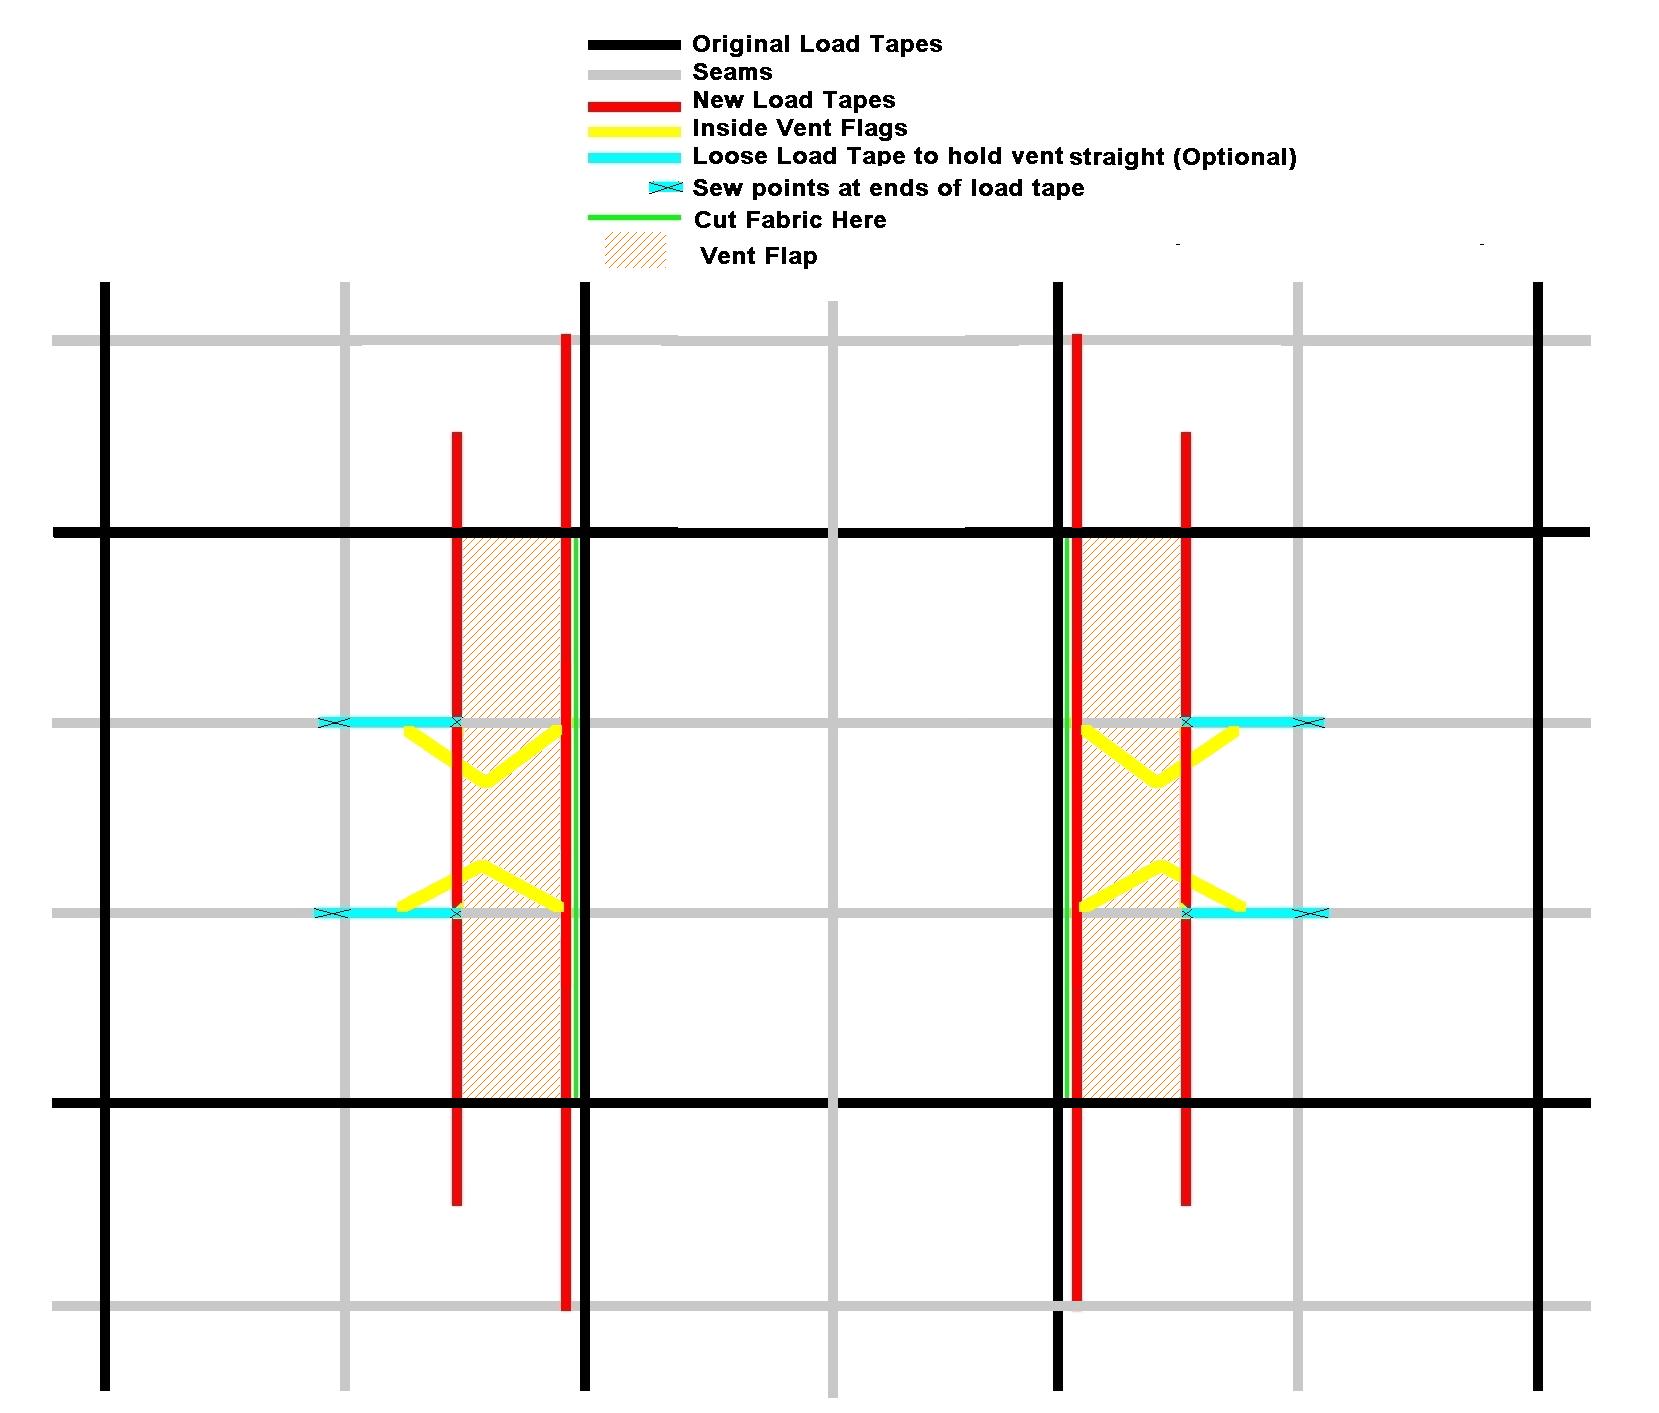
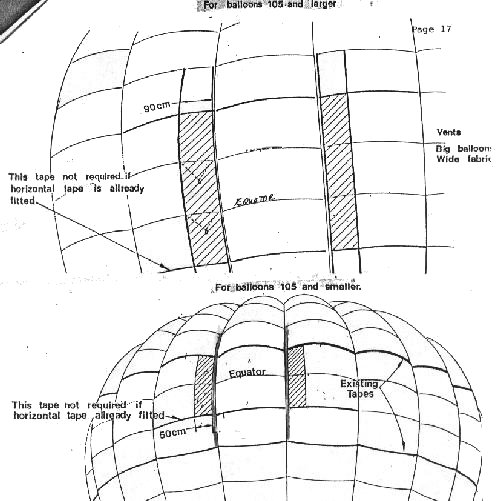
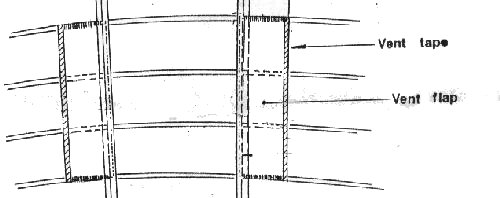
Drawing by Keith Sproul
If your balloon does not have horizontal load tapes, put horizontal load tapes where shown.
The vent flap is attached to the original vertical load tapes. The new load tape (in red) gets pulled in by the vent flags.
Pictures of Turning Vents in Keith's Balloons
N-48KX
LimeLight
48,000 cu ft, 16 Gore
http://www.skychariot.com/N48KX.htmlInside of balloon
Closeup, Outside view of vents
Vent Open
Jon Radowski installing vent lines
N-73KX
Indecision
73,000 cu ft, 24 Gore
http://www.skychariot.com/N73KX.html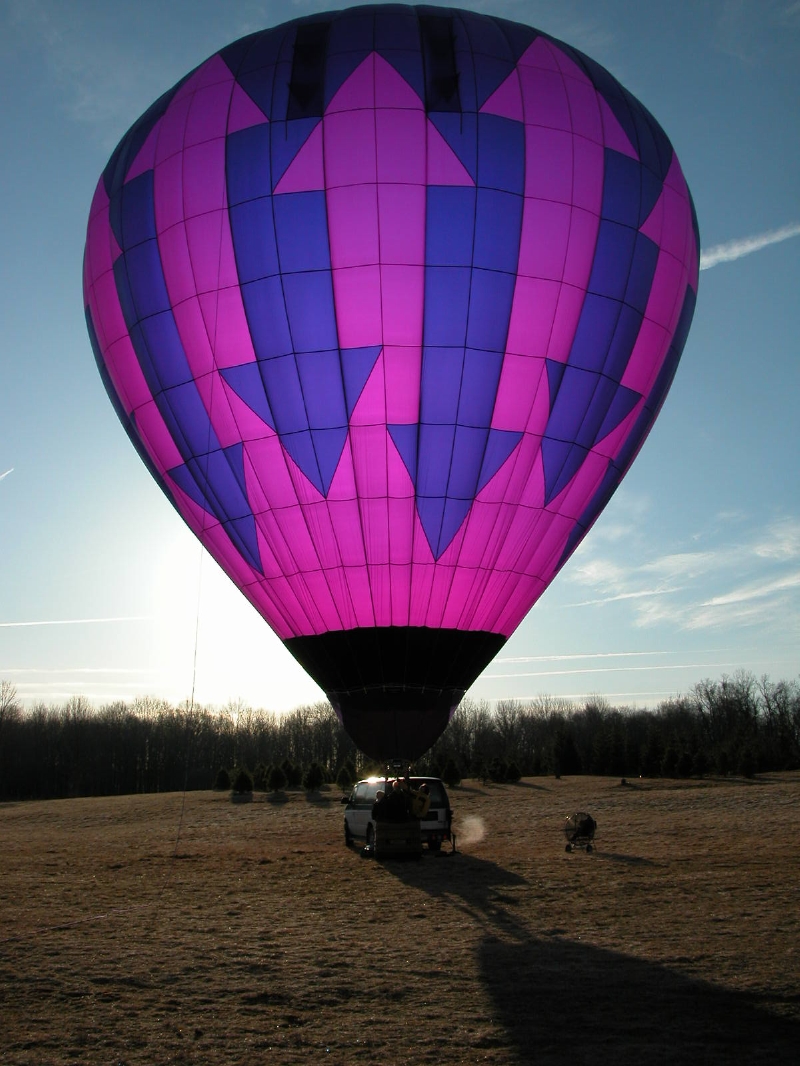
Inside view of vents
Closeup, Outside view of vents
N-48KX (2)
LimeLight Re-build
48,000 cu ft, 16 Gore
http://www.skychariot.com/N48KX.html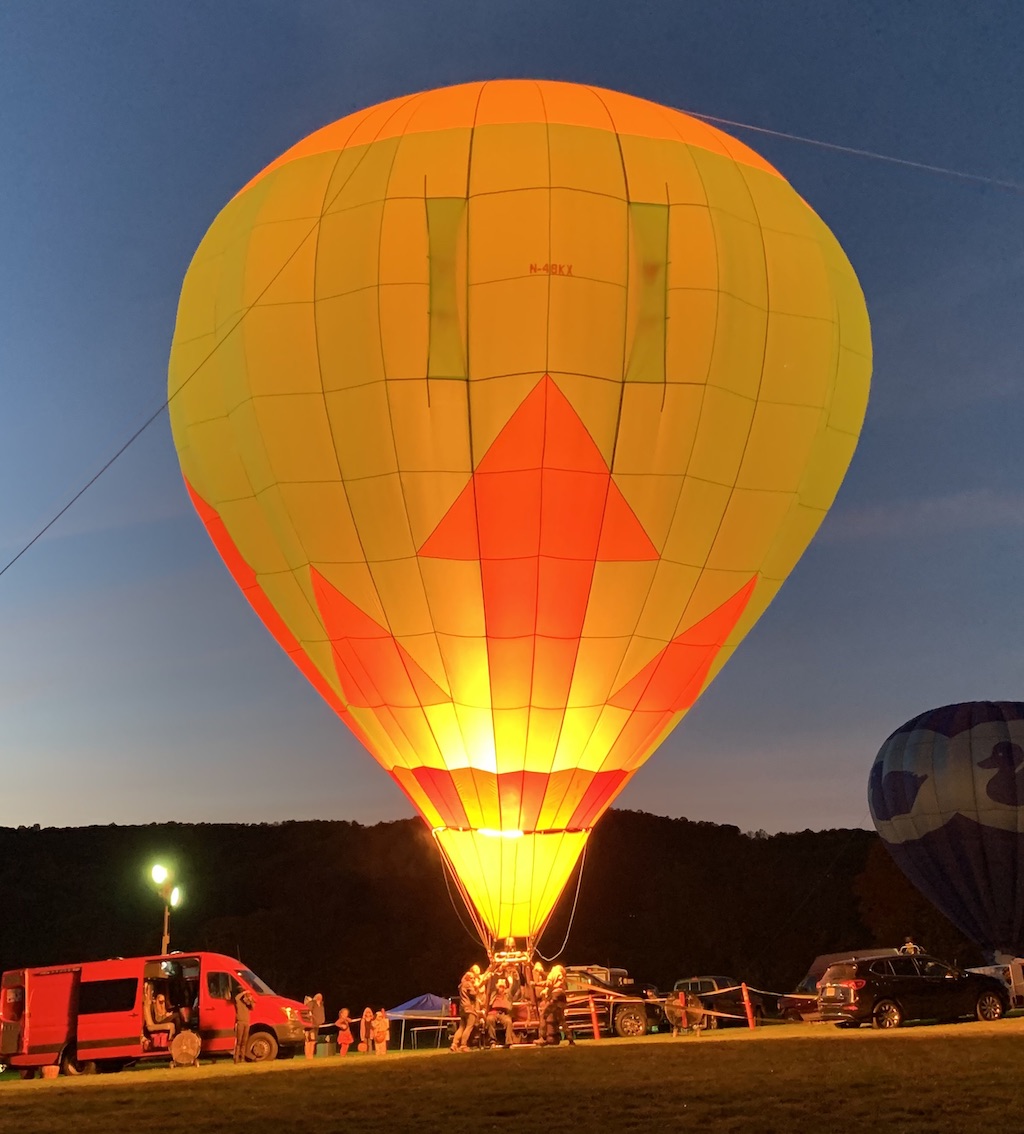
N-83KX
Undecided
83,000 cu ft, 16 Gore
http://www.skychariot.com/N83KX.html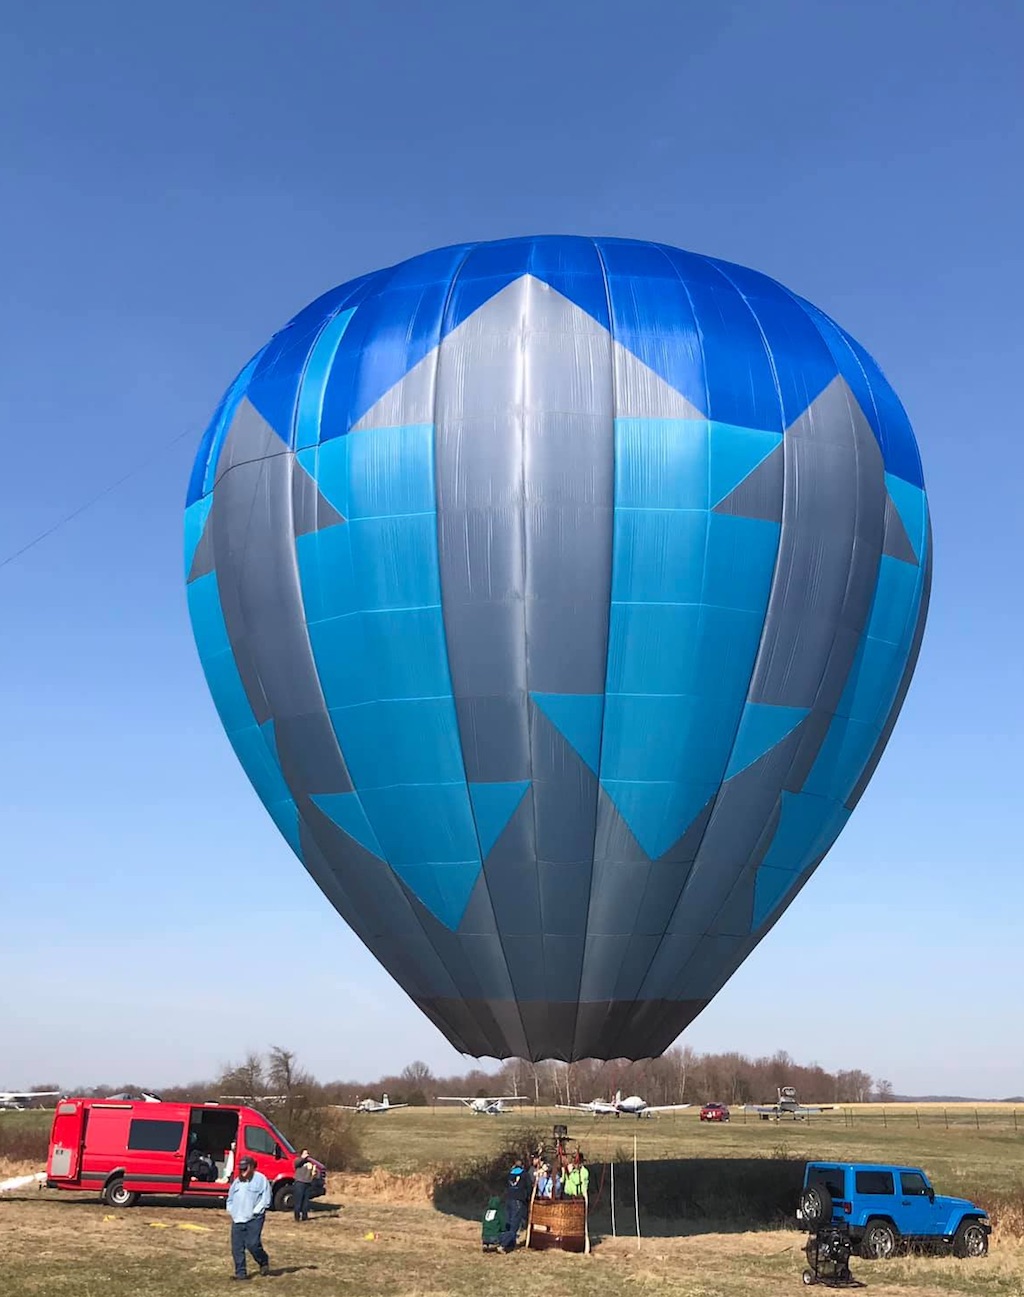
N-83KX
Rebuild
83,000 cu ft, 16 Gore
http://www.skychariot.com/N83KX.htmlN-105KX
Miss Direction
105,000 cu ft, 26 Gore
http://www.skychariot.com/N105.html "For once you have tasted flight you will walk the earth with your eyes turned skywards,
for there you have been and there you will long to return."
- Leonardo da Vinci
"It is possible to fly without motors, but not without knowledge and skill."
- Wilbur Wright
"Ballooning is a philosophy of life. You're a prisoner of the wind. You can swear, shout, pray, cry - and it doesn't matter.
But if you change your altitude, you can go a different direction"
- Bertrand Piccard
"Life is not measured by the number of breaths we take, but by the number of moments that take our breath away."
- Will Smith
"Time is the most valuable gift you can give someone"
- Unknown
WWW.SKYCHARIOT.COM Home & Schedule
Keith Sproul's Festival History
Scorch the Dragon Hot Air Balloon
Pandy Hot Air Balloon
Tetrahedron Hot Air Balloon
Birthday Cake Hot Air Balloon
Pig Headed Hot Air Balloon
Fred B Rabbit Hot Air Balloon
Meteor Crater Flight
Letchworth State Park, NY Gorge Flights
Shooting the Delaware Water Gap PA/NJ
Palo Duro Canyon State Park, Amarillo, TX
Red Rock Balloon Festival, Gallup, NM
2007 Switzerland Balloon Festival
Dawn Patrol Flights
Splash-N-Dash Flights
Fried Photogrpaher Pictures
Chariot Balloons
Keith's Cameron Duo Chaiot
Balloon Flights in 3D
Balloon Parachute Artwork
Balloon Pictures from the Bottom
Red, White & Blue Balloons
Arrow Design Balloons
Flame Design Balloons
Aerostar Aurora Balloons
Parachute Drop Pictures
List of University Balloons
FLIR Balloons Pictures (Infrared heat picture)
Flytec Instruments Info Page
Digitool Instruments Info Page
How to make a Hot Air Balloon
How to make a Tetrahedron Hot Air Balloon
How to put turning vents into a Hot Air Balloon
Envelope / Basket Retrieval Cart
Twins
Bonnie, our Dog
Mark Sproul's Observatory
Mark & Keith's GAIA Star Database Project
Keith Sproul's N-Scale Trains
aviationweather.gov
www.ventusky.com
www.windy.com
usairnet.com Winds Aloft
www.blastvalve.com